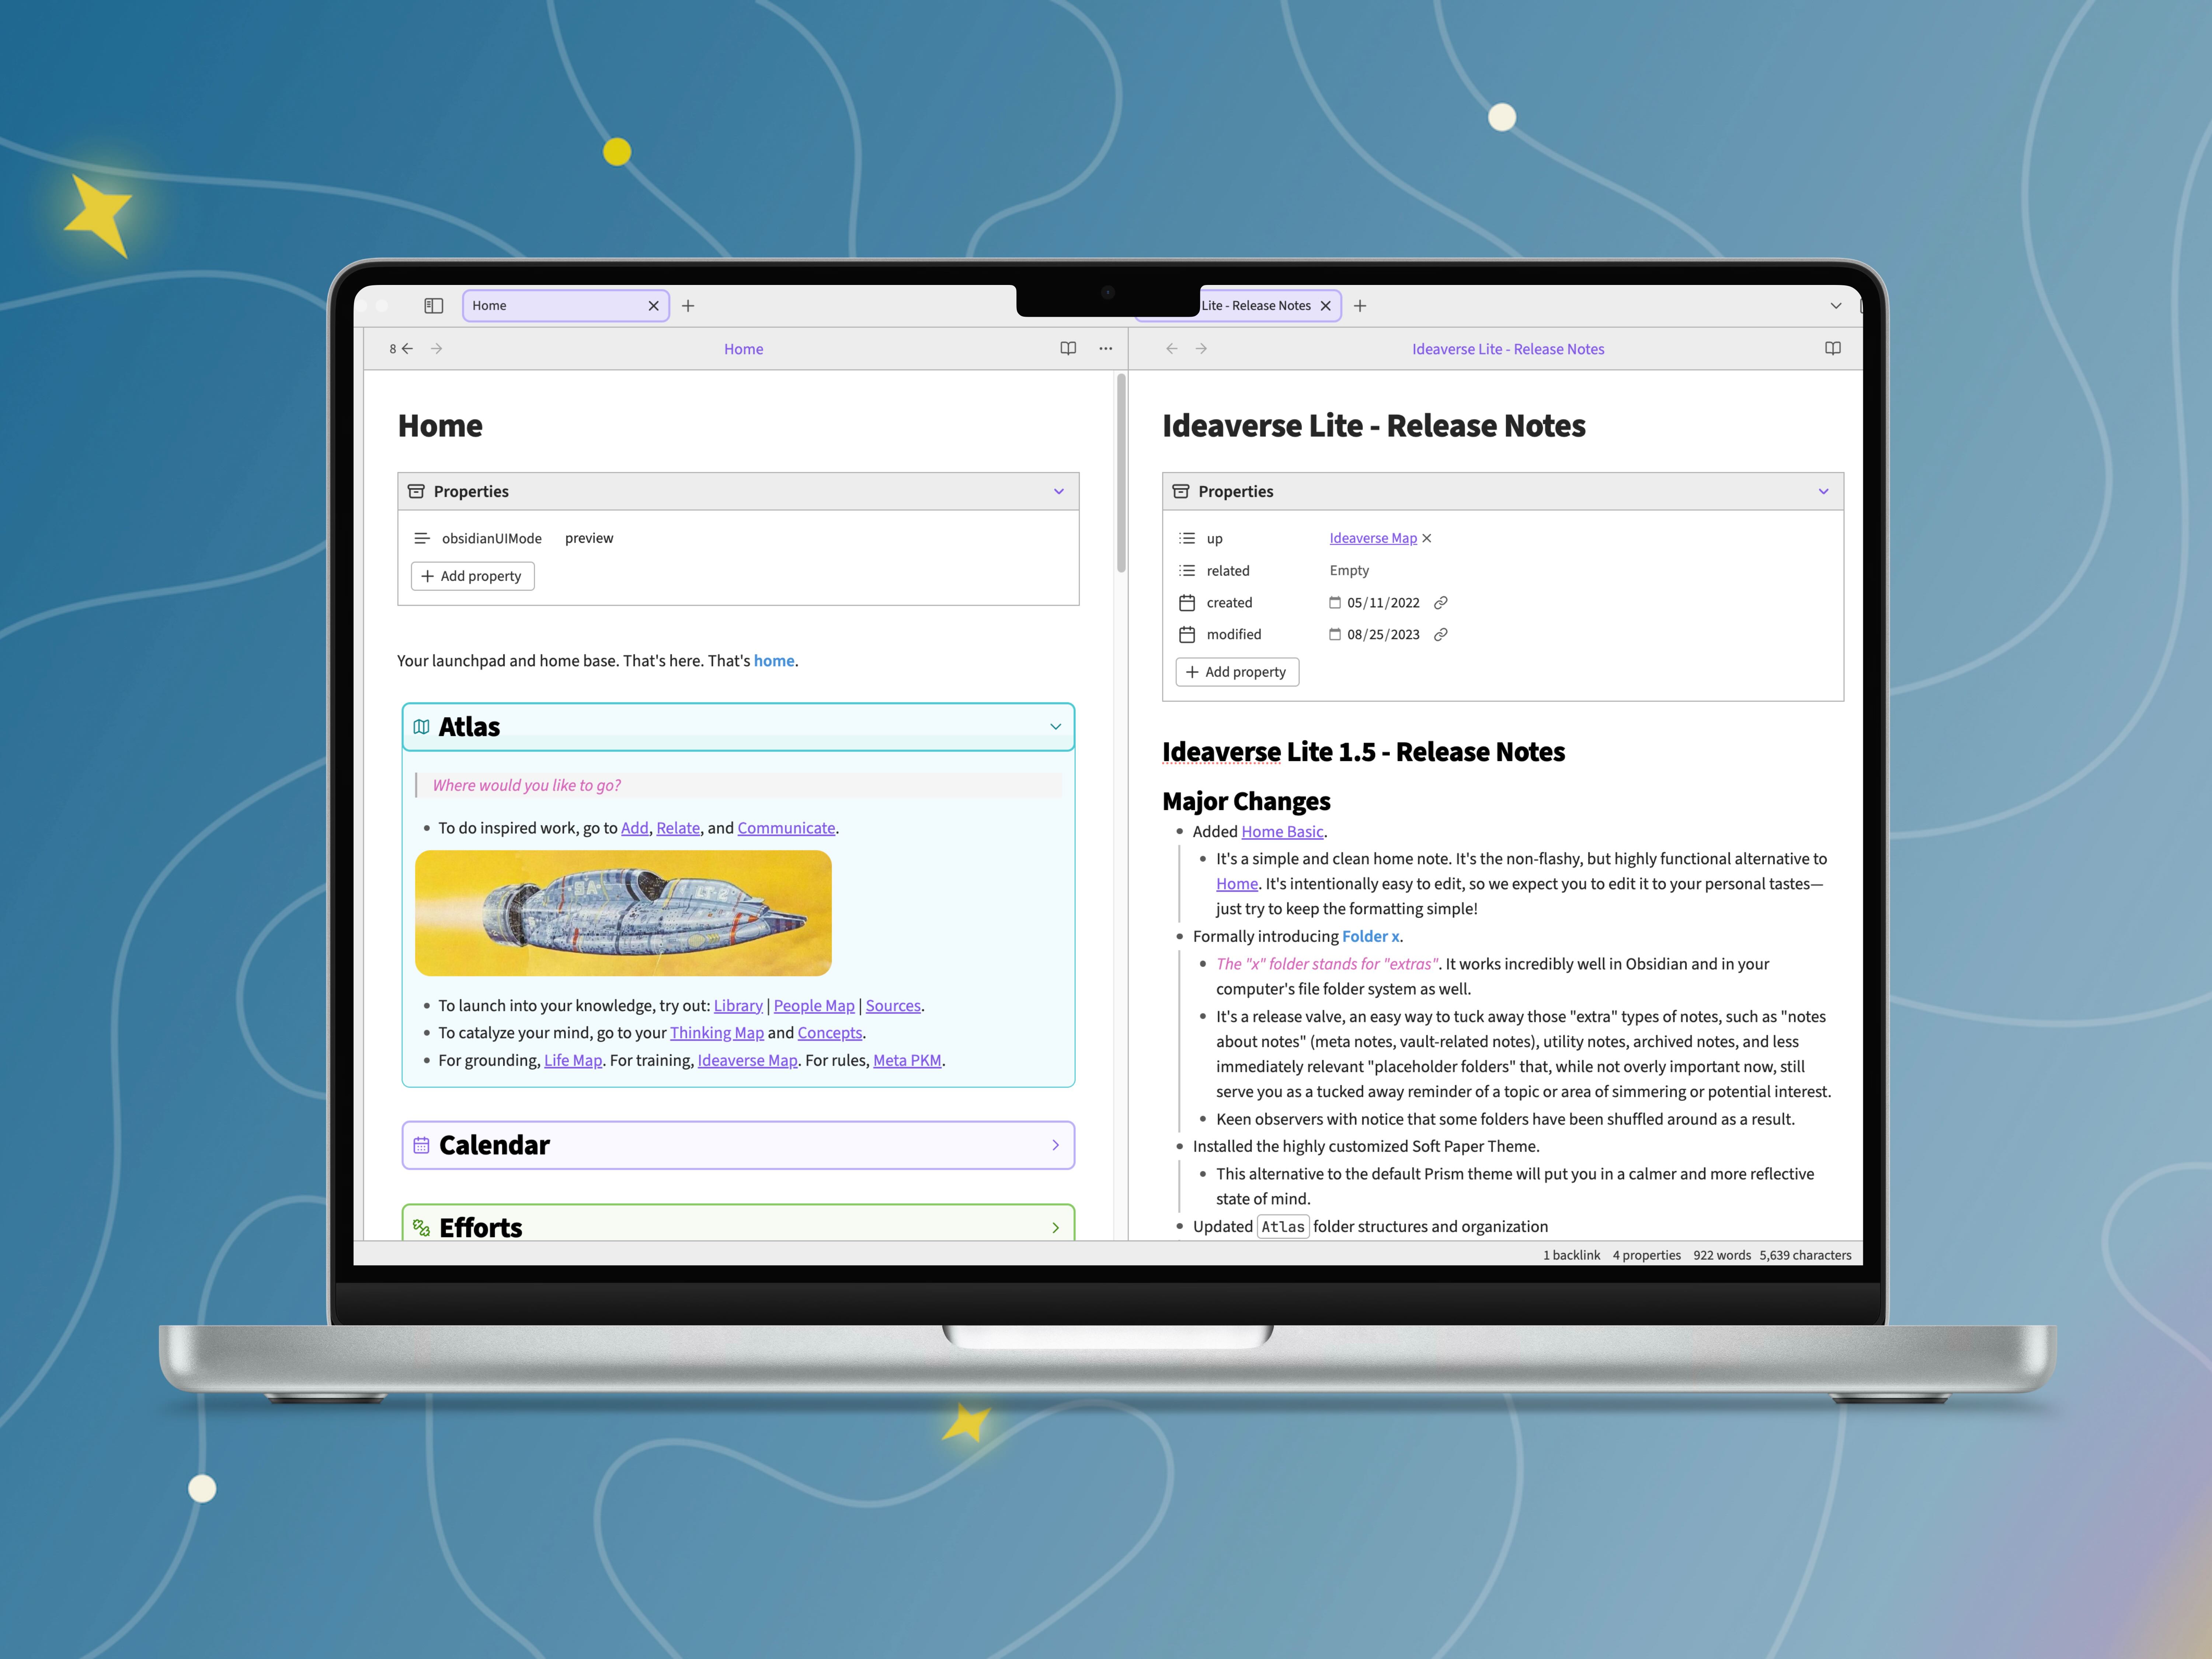
Note: Once you've downloaded Ideaverse Lite, be sure to follow the installation steps below then click here to start the first lesson.
How to install Ideaverse Lite
Mac installation
It’s important to open the vault as a new vault, not in your existing vault.
The steps below will show you how.The steps are very similar for all versions of Ideaverse (this free Lite version as well as Ideaverse Pro and Zero vaults). The main difference is the vault name and the number of files and folders in the vault folder.
Looking for how to install on Windows? Scroll further down.
- Double click on the “Ideaverse Lite 1.5.zip” file and let Apple’s built-in Archive Utility extract the “Ideaverse 1.5” folder.
- Drag the extracted folder named “Ideaverse Lite 1.5” to the Documents folder or wherever you plan on storing your Obsidian vaults.
- Open the Documents folder, and open the Ideaverse folder that you just moved. You’ll want to verify that there are seven files and folders in this Ideaverse folder. That tells us that the install was successful.
- Open Obsidian and, with your personal vault open, click on the name of your open vault near the bottom left of the app. This should open up a list of your vaults, to which you should choose the bottom option titled "Manage vaults" to bring up the vault menu.
- In the vault menu, choose “Open folder as vault” and select the “Ideaverse Lite 1.5” folder in your Documents folder (or wherever you placed it).
- When asked in Obsidian, click “Trust author and enable plugins” to enable the plugins Nick uses in this vault and enhance your Ideaverse for Obsidian experience.
- You’re now ready to explore the vault! If you ever get lost, the easiest way to re-orient yourself is by returning to the “Home Basic” note or the “Ideaverse Map” note in the files pane on the left side of Obsidian. This is demonstrated in the video as well. Be sure to click on any callout to find additional links or commentary within!
Windows installation
Note: Do not just drag it into an existing vault.
- Once you’ve downloaded the latest version, double-click the “Ideaverse Lite 1.5.zip” file in your Downloads folder or wherever you saved the file. Inside the file, you’ll see an “Ideaverse Lite 1.5” folder. (You can ignore the “_MACOSX” folder, it isn’t needed.)
- Move the "Ideaverse Lite 1.5" folder into your Documents folder or where you plan on storing any other Obsidian vaults.
- Open the Documents folder and double-check that it installed correctly by opening the “Ideaverse Pro 1.5” folder and confirming that there are nine files and folders inside of the “Ideaverse” folder.
- Open Obsidian and, with your personal vault open, click on the name of your open vault near the bottom left of the app. This should open up a list of your vaults, to which you should choose the bottom option titled "Manage vaults" to bring up the vault menu.
- In the vault menu, choose “Open folder as vault” and select the “Ideaverse Lite 1.5” in your Documents folder (or wherever you placed it).
- When asked in Obsidian, click “Trust author and enable plugins” to enable the plugins Nick uses in this vault and enhance your Ideaverse for Obsidian experience.
- You’re now ready to explore the vault! If you ever get lost, the easiest way to re-orient yourself is by returning to the “Home Basic” note or the “Ideaverse Map” note in the files pane on the left side of Obsidian. This is demonstrated in the video as well. Be sure to click on any callout to find additional links or commentary within!

Linking Your Thinking
Linking Your Thinking creates videos, lessons, and courses on the how and why of making meaningful notes. Our prime directive is helping people get more joy out of their digital notes. You can subscribe to our newsletter here: https://www.linkingyourthinking.com/learn-more

